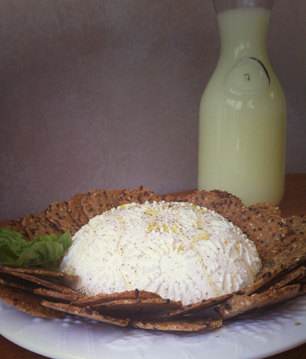
(Drizzle with Olive Oil and sprinkle with Cracked Pepper for a wonderful party snack)
How to make Homemade Ricotta Cheese & What to Do With It
I have a recipe to share with you. This recipe comes from my Grandma's kitchen. The other day, while watching Chef Bryan on KUTV making Lasagna Roll-Ups for his “What's for Dinner” segment, he mentioned that he doesn't purchase Ricotta Cheese but, instead makes it from scratch.
I enjoy Chef Bryan's episodes and he often mentions frugal tips. This particular mention of Ricotta took me barreling on a journey back to childhood, with memories of helping my Grandmother make this same cheese. As is with most of my Grandmother's recipes, they were a little of this and that and have been long lost, since she left us but, I think this comes pretty close.
This recipe is so SUPER simple, you'll wonder why you haven't made it before. First things first, is to note that Traditional Ricotta Cheese is made using leftover whey from making other cheeses, that uses a coagulant like microbial, vegetable or animal rennet. This recipe is a whole milk version, that in my opinion, tastes so much better and is often referred to as Farmers Cheese.
Ingredients for about 2 Cups of cheese:
2 Quarts of Whole Milk – Yes it must be whole. I lucked out for this recipe and found the Quarts on manager special at Smith's for $0.49 each. Bonus!
1 Small container of Whipping cream or Half & Half – That's half a pint or about 1 Cup.
3-4 Tablespoons of acidic liquid. I like lemon juice but, apple cider or white vinegar work fine too.
1/2 teaspoon salt

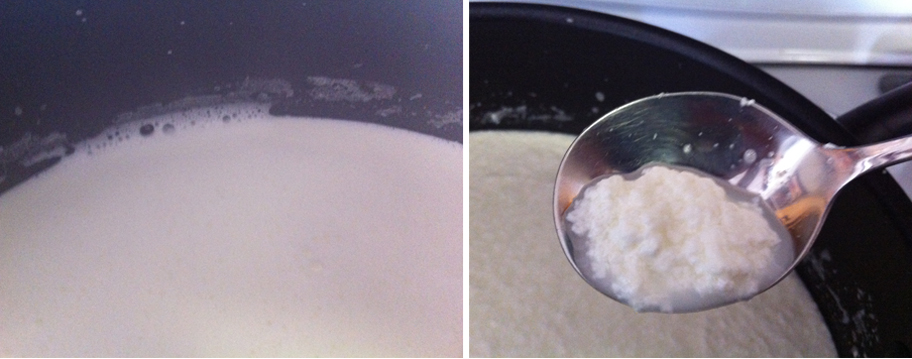
In a sauce pan combine the Milk and Cream. Cook until it begins to froth on the side and has small bubbles on top. If you have a thermometer, it should be somewhere between 175 – 180 degrees. Don't let it boil.
I'm going to take a moment here to reminisce. My Grandmother loved her coffee and donuts. And, this is why the mention of ricotta brought back such memories. I remember sitting on her lap and drinking this heavenly warm milk with sugar and just a smidgen of coffee in my cup. We would dunk donuts in the warm yum….. Delish 🙂
Moving forward, turn off the heat and add your acid. Your mixture will begin to curdle immediately. Add the salt and continue to stir gently for about 30 secs. Cover your pot with a clean dry dishtowel and let sit and cool for at least 30 – 45 minutes to up to 2 hours.

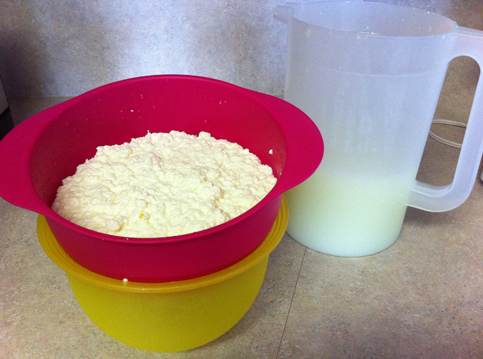
Time to strain. I just strain my cheese in a regular kitchen strainer. I like how the cheese takes on the mold of the strainer. Press it gently and cover with a paper towel. Allow your cheese to continue to drain in the fridge for 24 hours.
Side Note: You can rush this process by using a cheesecloth stuffing bag, (the kind that Reynolds sells for Turkey Stuffing) and squeeze the liquid out. Also, if you squeeze out as much water as you can and then let the cheese sit under something heavy (ie a pot filled with canned food) for a couple hours, you'll get a hard cheese that you can cut into cubes.

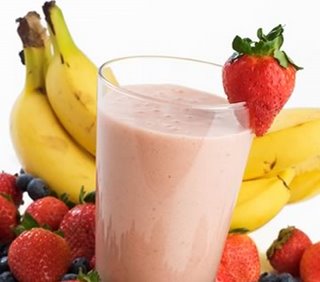
Don't throw away the milky whey! It's known for it's healing properties. Instead freeze it in ice cube trays and use it in Smoothies. It's also a good substitute for water when making rice. The rice will come out nice and creamy.

So, what to do with all that creamy goodness. You could make your favorite Lasagna recipe or try Chef Bryan's.
I like the simple approach. Add about 1/4 cup Parmesan Cheese to 1 cup of the Ricotta along with some Italian Herbs, like Thyme, Basil and/or Rosemary. Stuff the mixture inside seeded Cherry Tomatoes and top with toasted Panko crumbs (left). Fill large shells and top with Marinara Sauce and bake (center). Or, try my favorite, a sammy, with Roasted Peppers and Basil, drizzled with olive oil (right). YUM YUM!
Rimanere Frugale


Leave a Reply