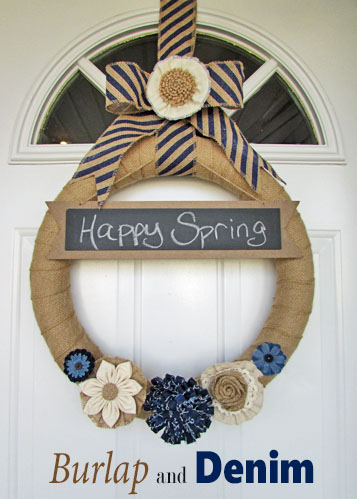
Burlap has been trendy in crafts and home décor for some time now but have you noticed how hot denim is? I have been wanting to make myself a new wreath for my front door for months but I was totally uninspired until I walked through Michaels craft store a few days ago and found the cutest denim and burlap flowers on clips. I knew instantly that I finally had found my inspiration!
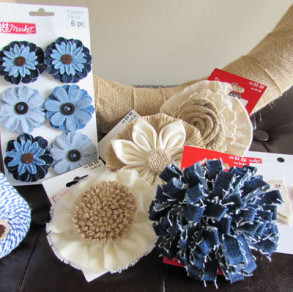 At first, I wondered if I would have to take the clips off the back and in order to glue them on my wreath. Then it hit me that I could just clip them onto my wreath and have the ability to easily change out the flowers when I was ready for a different look or a different season!
 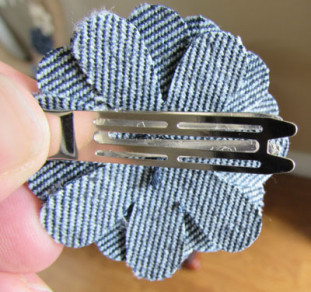 These small denim flowers also came pre-made from Michaels but didn't have a clip, so I just glued a clip on the back with some E6000 craft glue. (Don’t use hot glue, if your wreath gets warm the glue can melt and your wreath will start to fall apart. If you use premade flowers )
If you have the time, fabric flowers are not hard to make and you could save some money by making them yourself. If you want to make them yourself, check out this Denim Flower Tutorial by Creations By Kara or this Burlap Flower by Simply+Kierste.
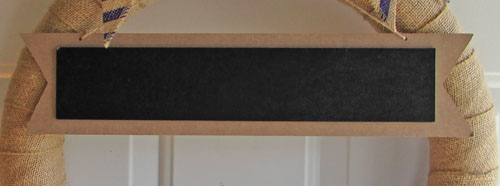 I also purchased this hanging chalkboard sign at Michaels on sale for $1.99. (Yeah, I hit the jackpot. Most everything I bought was on sale 50% off!) I knew the sign would work perfectly for my wreath because now I could easily change the wording and the flowers. How fun to write “Welcome” or “Happy Birthday” or personalize with your last name or house number. (Or if you live in Utah, you can change it to say Happy Winter when we get a blizzard in April!)
 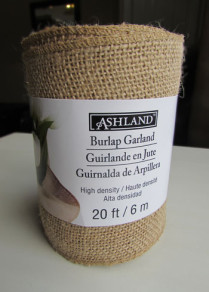 I started with a 20ft roll of burlap, an 18″ round foam wreath (I used a 50% off coupon so it was $6.00), E6000 and floral pins.
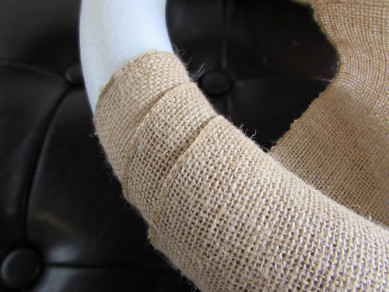 I secured the burlap to the Styrofoam wreath with a couple of floral pins and a few dots of E6000. Then roll the burlap around the wreath. I will admit it took me several times to get it to look just like I wanted it. Be patient and pull the burlap tight. I used almost all of the 20 ft of burlap.
 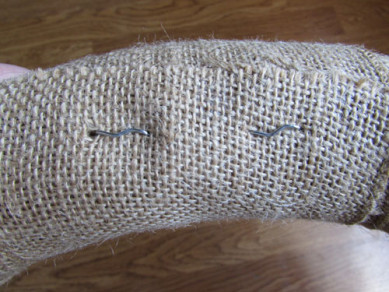 When you have wrapped all of the wreath with burlap, cut any extra off and pin and glue the burlap down on the back to secure.
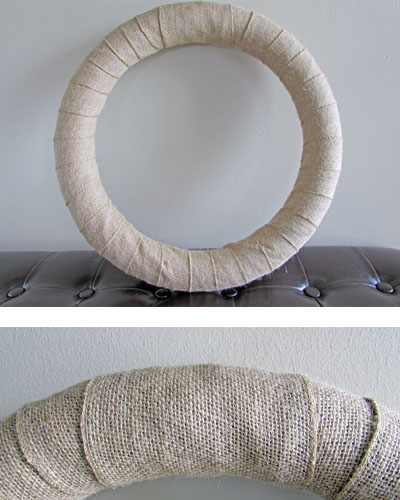 As you can see the last place I wrapped looks wider because I didn't cover the top of it by continuing to wrap the burlap. I made that section the top of the wreath so that I could cover it with ribbon.
 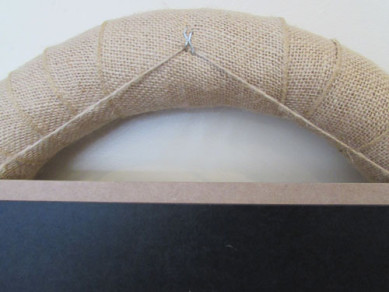 I attached my chalkboard using two floral pins. (I will end up covering them with ribbon.)
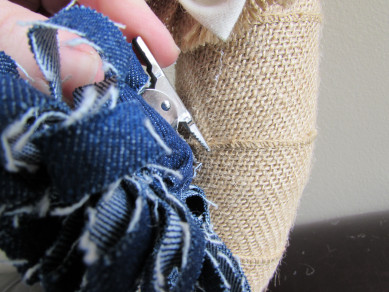 Next, clip all of the flowers in place using the edges of the burlap.
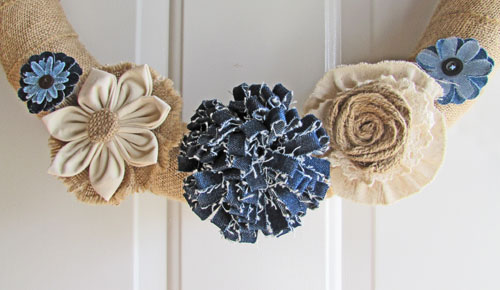 Use your imagination and try several different ways, that’s the beauty of being able to move the flowers around so easily.
 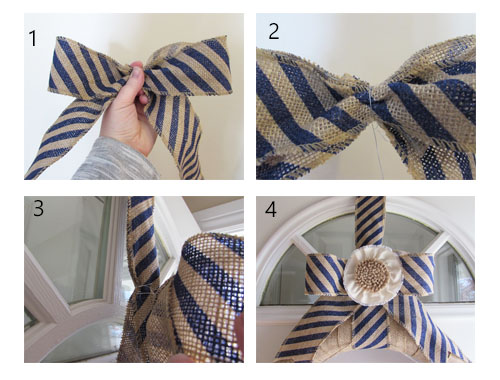 The last step is to add the ribbon and bow to the top. I used a burlap ribbon with blue stripes that I already had on hand (Walmart). I wanted to hang the wreath by ribbon so I looped a piece of ribbon around the top of the wreath and knotted it at the top. Then I made a bow and wrapped a piece of wire around the middle and twisted it tightly on the back. I had an extra flower that I wanted to use so I decided to clip the bow to the wire. I used the rest of the wire to attach the bow to the loop of ribbon.
 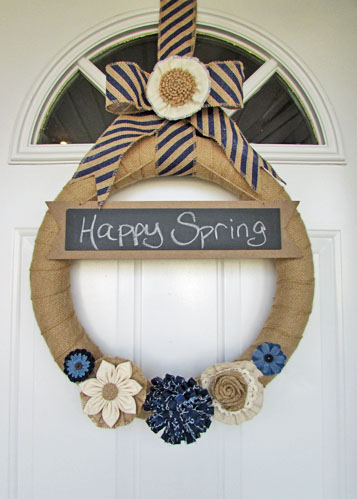 I love my burlap and denim spring wreath but I have already been thinking about how I’m going to change it up for summer….maybe clip on a couple of red flowers and a flag and I’ll have a new wreath for the 4th of July!


Leave a Reply