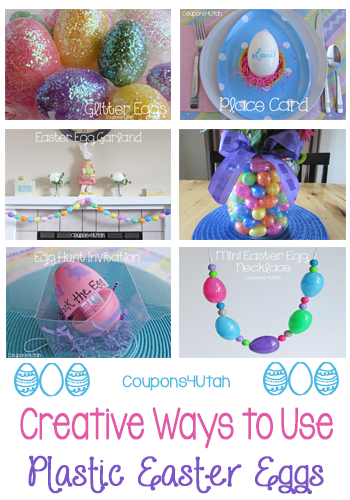
 You're going to love these 10 Creative Ways to Use Plastic Easter Eggs Not only are they frugal (a bag of plastic eggs usually costs around $1.00) but reusing and repurposing them is good for the environment.
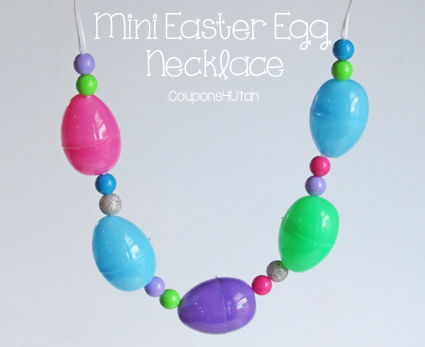
- This little girl's Easter necklace was a cinch to make and my daughter loves it so much she didn't want to take it off.
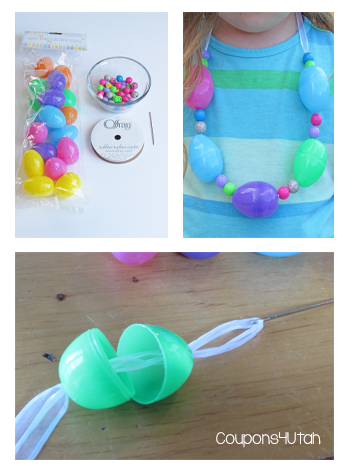
For this necklace I used 5 mini eggs, 36 inches of 5/16″ wide ribbon, a yarn needle and some chunky beads. (The mini eggs that I used were approximately 1.25 inches long and like many plastic eggs they have small holes in the top and bottom.)
First, thread the ribbon into the needle. Then alternate threading the beads and eggs onto the needle/ribbon. Last tie the ends of the ribbon together in a double knot. Cut off any remaining ribbon. *Note this necklace is intended for ages 3 and up.
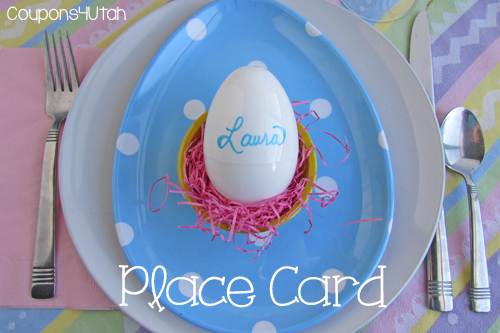
- Do you host Easter brunch or maybe Easter dinner? How cute is this plastic, white egg as a special place card?! I used a color Sharpie to write each person's name on an egg and set each egg in a small bowl filled with Easter grass. Alternatively, if you don't have a set of small bowls, I think a small bird's nest would be so adorable. Don't forget to fill the egg with a sweet treat or dinner mints to enjoy after dinner.
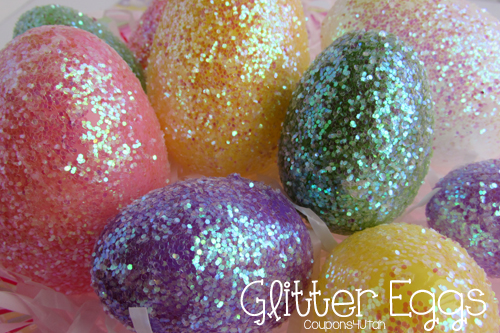
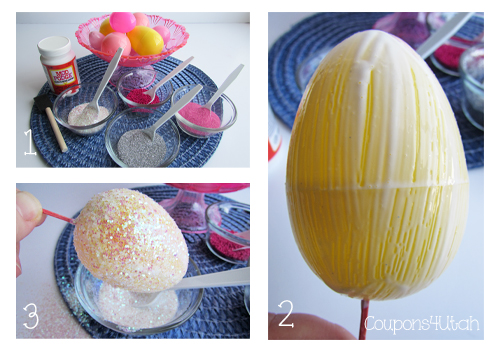
- If you want to dress up a regular plastic eggs, try glitter! After trying several different colors and sizes of glitter, I decided that the iridescent was my favorite.
First, insert a toothpick or skewer into the hole at the base of the egg to create a handle to hold on to. Brush Mod Podge onto the egg with a foam brush. Spoon glitter over the egg and shake off the excess. Poke the toothpick into a foam block or empty egg carton to allow the Mod Podge and glitter to dry 6 hours or overnight.
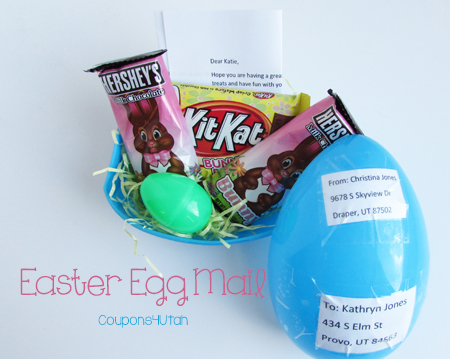
- Many people don't know that you can mail odd shaped packages. How fun would it be for a college student or someone who lives far from home to receive this special little Easter treat in the mail!
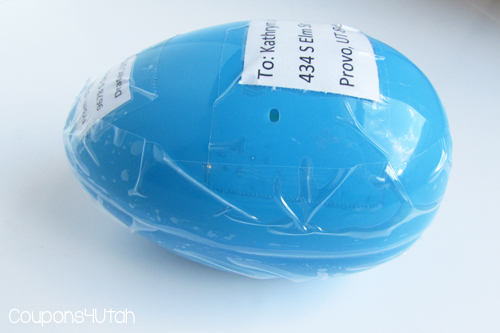
I found these large Easter eggs at Walmart for $1.44. They are made out of a heavier plastic than regular Easter eggs. I filled mine with Easter grass, candy and a note. Be sure to include the address of the sender and receiver and cover them with clear packing tape. Also tape the two haves of the egg together with the packing tape. You will have to take this directly to the post office to pay for the postage based on weight.
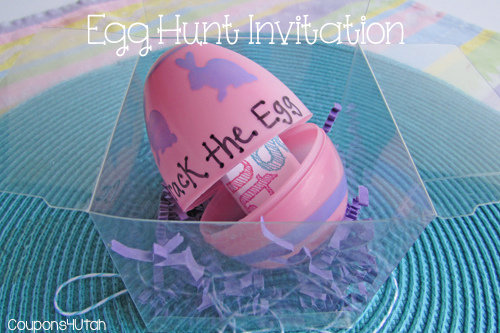
- Check out this cute Easter Egg Hunt Invitation. It's simple and the only cost to me was the cute plastic box. I reused Easter eggs and grass from previous years and the invitation was a free printable!
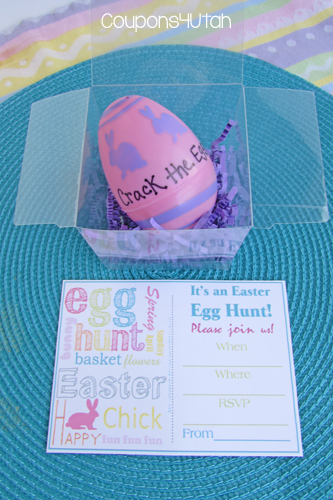 Just roll up the invitation (I used this free printable invitation) and put it inside an extra large plastic egg. Write “Crack the Egg” on the outside and put it in a box with some Easter grass. Who wouldn't be excited to come to an Easter party, brunch or egg hunt after receiving this invitation?!
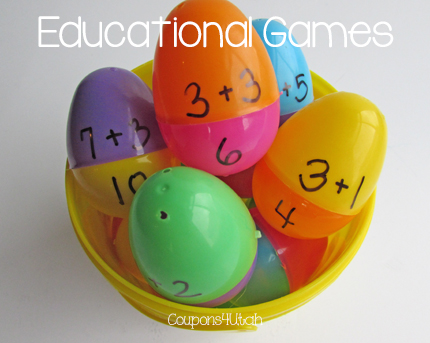
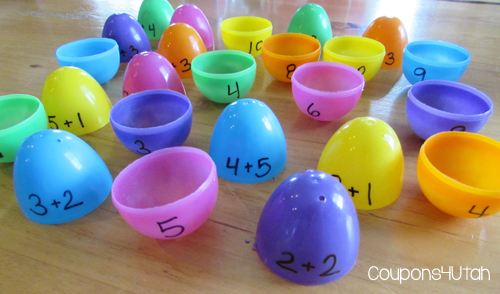
- You may not have thought to use extra plastic Easter eggs as an education tool but they are a great way to help your child practice everything from math to sight words to state capitals!
Just right the “question” and “answer” on two separate halves and have your child match them up and snap them together.
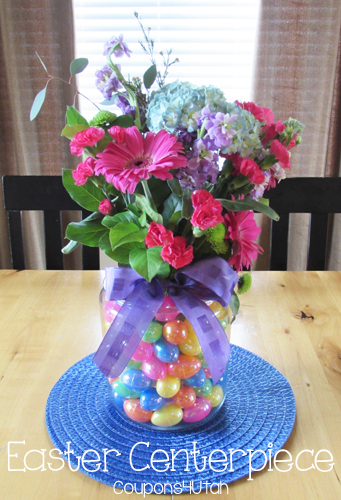
- This Easter centerpiece looks impressive but don't let that fool you. It only takes a few minutes to make and anyone can pull it off.
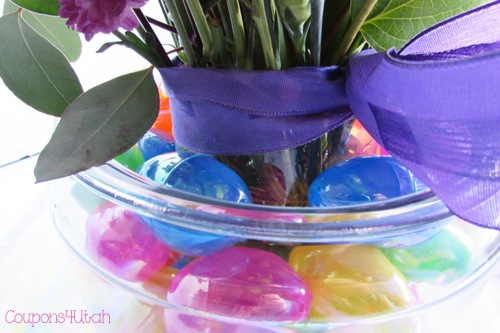
You'll need one large jar or vase, one smaller vase (about the same height as the first), a bunch of fresh flowers and a bunch of mini Easter eggs. Fill smaller vase with water and arrange the flowers in the vase. (Costco is my favorite place to buy fresh flowers.) Set the smaller vase into the larger vase and place the plastic Easter eggs around the perimeter.
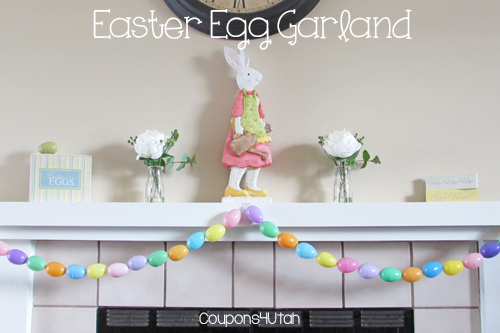
- I adore this Easter egg garland. I love the way it dressed up my Easter mantel and best of all, my 6 year old made it!
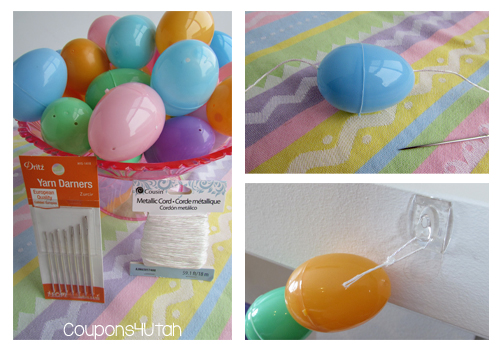
You will want to use the cheap plastic eggs that have holes in both the bottom and the top. Thread a yarn needle with a strong string or cord. Pop open the egg and poke the needle through the hole in the bottom of the egg and then the hole in the top half of the egg. Be sure to make a knot in the thread so that the eggs can't fall off while you work. Repeat until you have your desired length of garland. Tie a knot after the last egg to keep them from moving around. I hung mine with these removable Command hooks.
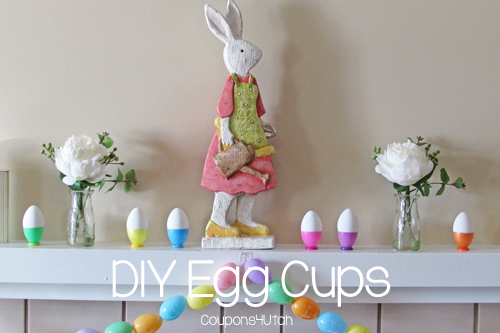
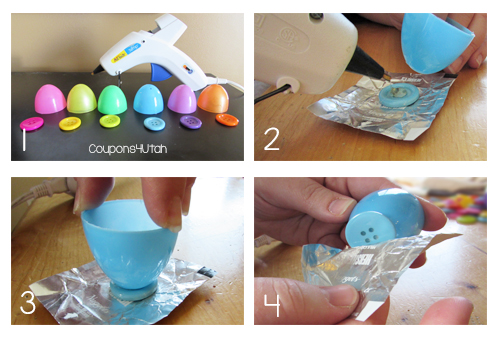
- Next up are these DIY Egg Cups. These easy cups are a great way to display eggs that you have dyed or serve hard boiled eggs for Easter breakfast.
1.You'll need large craft buttons (I found mine at Walmart), a hot glue gun and plastic eggs. 2. Working on a piece of foil, hot glue the egg half to the button. 3. Position the egg so that it's level and wait a few seconds for the hot glue to dry. 4. Peel the egg cup off of the foil (or in my case a foil candy wrapper). The purpose of the foil is to keep the hot glue from going through the holes in the button and getting stuck to the table.
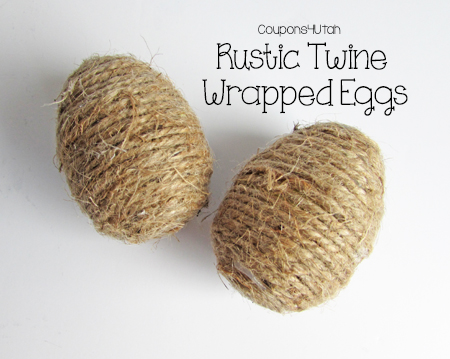
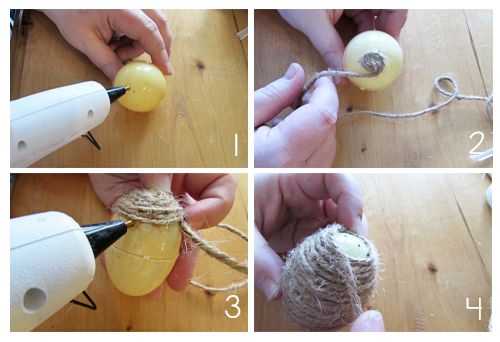
- If pastel colored eggs aren't your cup of tea and you prefer more rustic Easter decor, then try out these rustic twine wrapped eggs!
Start with a dab of hot glue on the bottom center of your egg. Press the end of the twine into the glue and start wrapping circles around the egg. Add a dab of hot glue every few “wraps” to keep the twine from slipping around on the egg. **You may want to have a chopstick or old pencil to help you press the ends into the hot glue at the start and the end. Also, I think yellow is a great color of egg for this application. The light color won't show through as easily.
Happy Easter!

 Nicole says
March 15, 2016 at 12:44 pmI love these ideas Christina! Inexpensive, creative and fun!. I’m definitely going to make some of these with my girls. Thank you for sharing!